

News Story Creation
After you have uploaded your images, it is time to create a new story.
To Create a New Story
- Navigate to the correct folder within the directory structure. (/departments/publicrelations/pressreleases)
- Click New from within the folder structure.
- Select the type of page to be created. For this instance you will be creating a "New News Article"
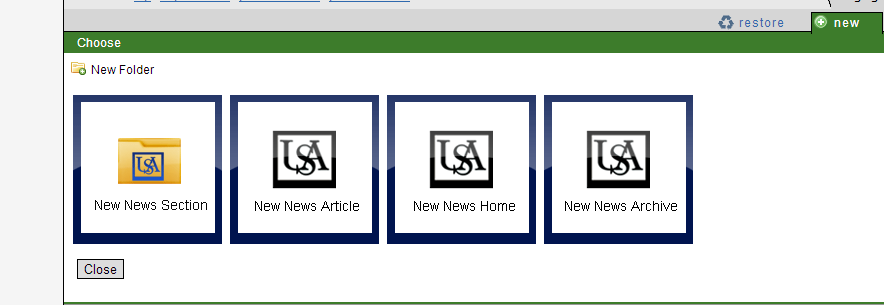 Click the corresponding icon to Create the News Story Article. Each selection will present its own page properties, which must be completed in
order for the page to be configured. Complete the requested information.
Click the corresponding icon to Create the News Story Article. Each selection will present its own page properties, which must be completed in
order for the page to be configured. Complete the requested information.
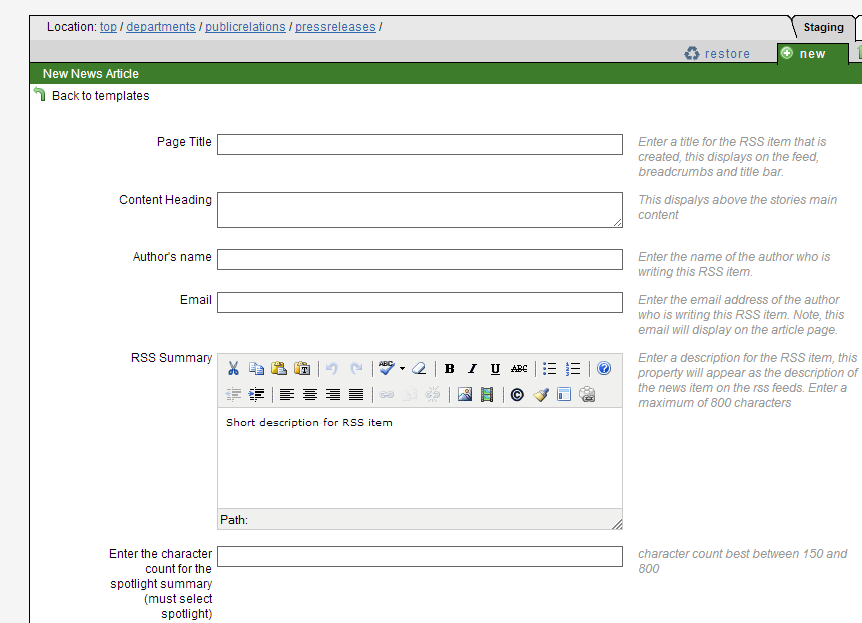 Note: if you have questions about what a particular field does than look to the comment
text on the right. Take your time a complete the requested information to the best
of your ability.
Note: if you have questions about what a particular field does than look to the comment
text on the right. Take your time a complete the requested information to the best
of your ability.
Editing Page Properties
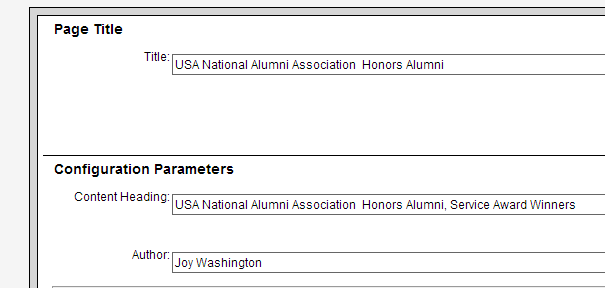
Page properties can be used to control preconfigured aspects of a page, such as supplying Meta tag content, story title text, date information, selecting keywords, and much more. There are two(2) places that page properties can be configured, firstly when you set up a New News Article and secondly in the Page Actions toolbar.
To view the icon for editing page properties, the Story page must be checked out.
- Check out a page.
- Choose one of the following to edit:
- Click the Edit Properties icon as show below:
- Click the Props icon on Page Actions toolbar as shown below:
3. This displays the editable Page Properties. The form fields contain the data that was entered when you created the page.
Editing the Story Content
After you have created the new News Story and modified the initial page properties, you will be ready to edit your page. Click on the edit icon at the top of the page and go into edit mode. Once in edit mode, you will see that the page is divided into editable regions to input your news story content.
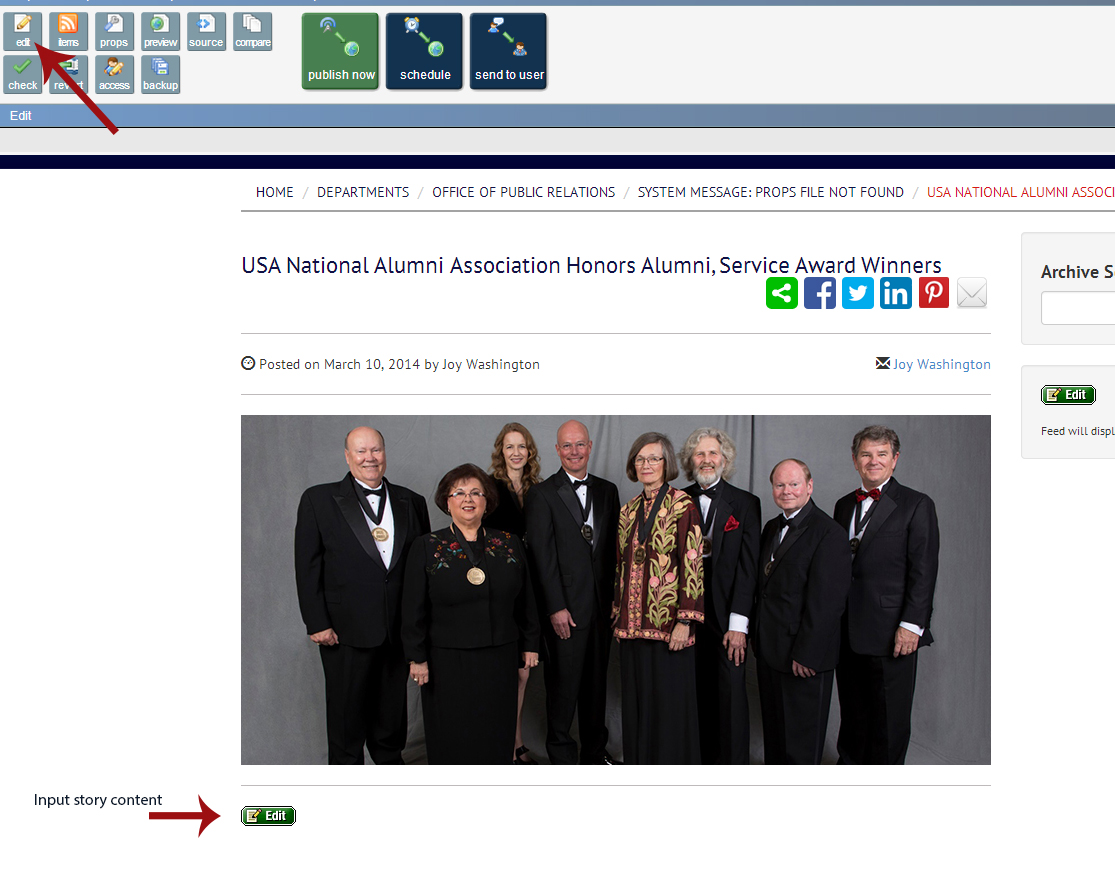
You can insert links and images, insert snippets and assets, and much more when you are editing. Remember to save your changes and publish the page when you finish.
Adding and Positioning Images within the Article Content
Within the CMS you are able to add multiple images to your main story content as well as add text captions and align your images to the center, left, and right within your story content.
To add an image to the content with the option to caption and align to a specified position select the icon in the WYSIWYG toolbar called "insert predefined snippet content".

Choose the category "PR_News" and browse to your desired choice. There are three options Image Float- Center Aligned, Image Float- Left Aligned, Image Float- Right Aligned.

Image Float- Center Aligned centers the image in the content and adds padding on all sides of the image. To see an example of a center aligned image, click here.
Image Float -Left Aligned left justifies the image within the content and adds padding on the right and bottom of the image so the text doesn't crowd the image. To see an example of a left aligned image, click here.
Image Float -Right Aligned right justifies the image within the content and adds padding on the left and bottom of the image to prevent text crowding. To see an example of a right aligned image, click here.
Adding Captions to your Images
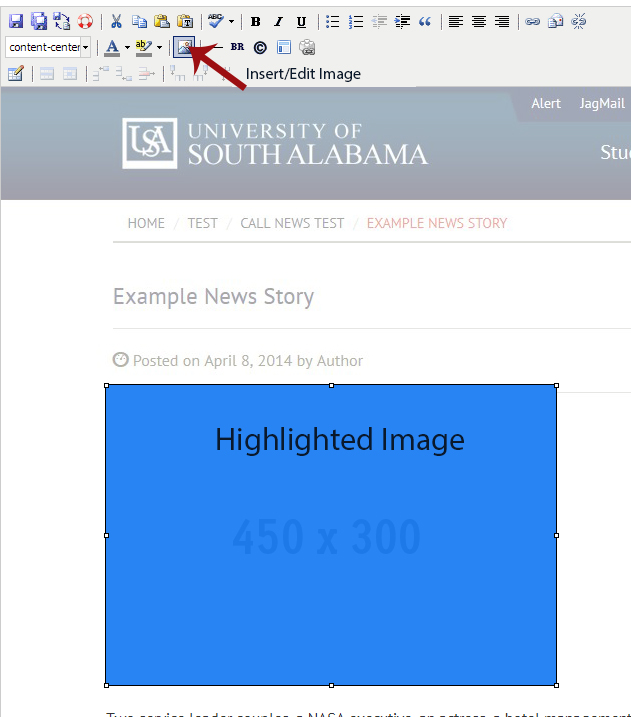
After adding and positioning the snippet to your story content you can change the placeholder image to your desired image and add a photo caption. Click on the placeholder image once to highlight the image and click on the WYSIWYG toolbar option for inserting and editing Images.
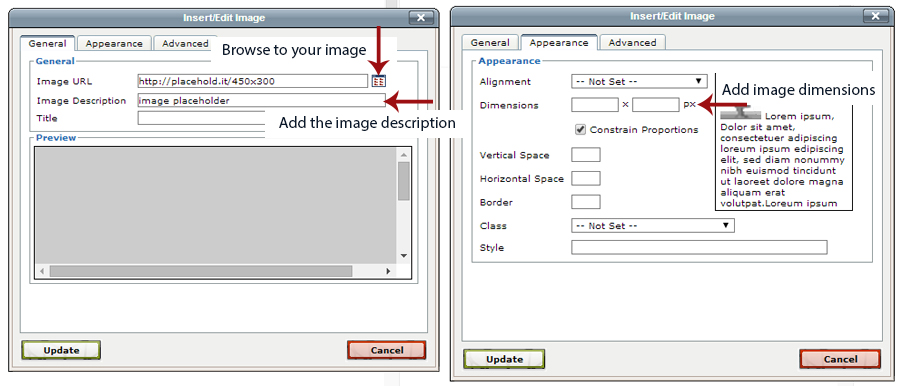
After you click on the icon in the toolbar, the Insert/Edit Image dialog box will appear. To change the image, click the icon to the right of the field "Image URL", browse to your image and select the file.
Note: If your image has a high res photo that you have optimized for the web (save for web 72 dpi) and not uploaded to your images directory you might want to upload the file via the "Image/edit" dialog box. Just click on the icon to the right of the "Image URL" field, browse to your images folder and click the option "Upload" to upload the file.
Next, add your image description. The image description is required for accessibility purposes (screen readers for the blind), but the image description also doubles as the photo caption, that appears directly below the image in the content of the story. Finally, click on the tab labeled "Appearance" and input the image dimensions. The image dimensions are important because they keep text from crowding the image and keep the padding and margins consistent on the images.
After you have changed the image URL, added a image description (caption) and set the image dimensions, click the update button at the bottom of the dialog box and continue adding or editing the content in your story article.
Adding a High Res Photo link
If you have a high res photo to connect to the image you have just added, select the image and click Insert/Edit Link icon option. In the dialog box browse to and select your the high res image, change the "Target" field to "open in a new window (_blank)" and click the "Insert" button in the bottom left of the dialog box.