Creating a New Page
To start editing your page, log into the page using the Direct Edit Link which is the copyright symbol in the footer of the page. Use your login credentials given to you during training.
Once you have logged in, click the light bulb at the top of the page to check the page out and lock it for editing.
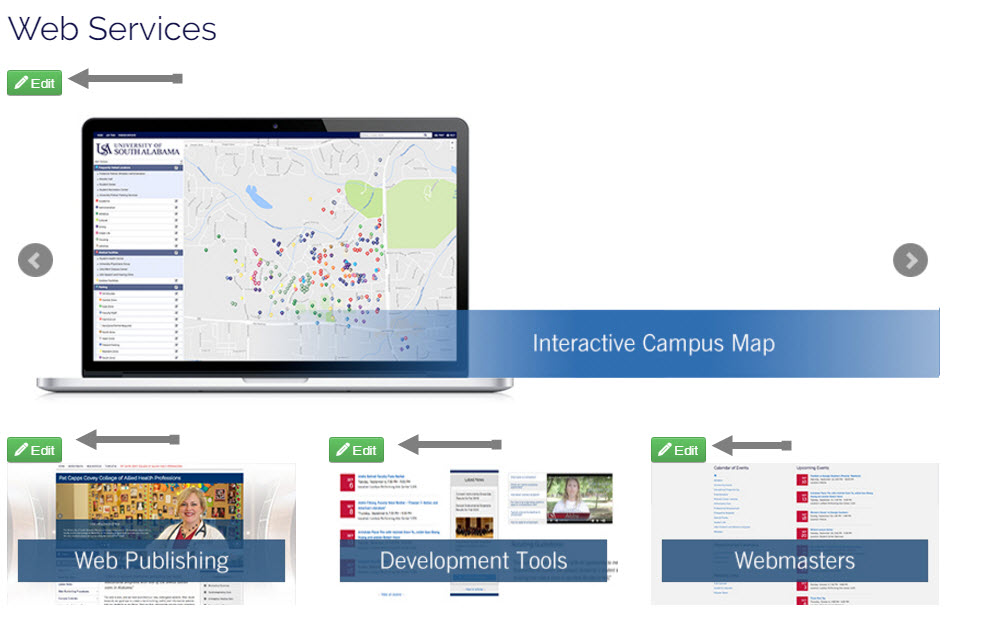
Everywhere you can edit content, there will be a green edit button above that region. Once you click on the edit button, the WYSIWYG Editor will appear for you to begin editing.

What-You-See-Is-What-You-Get, or WYSIWYG for short, is the toolbar we use in OU Campus for editing our pages. The WYSIWYG editor allows for editing of pages similar to the way a page is edited in a word processor.

Click here for a description of each tool.
Once you have made any changes on the page, you must save and publish the page for the changes to go live.
Page properties allows you to modify the page's title, meta tags (description and keywords), and content heading. You also have the ability to turn left column options on and off, select a featured image (which can also be turned off), overwrite the directory navigation, and control your LDP Gallery (slideshow).
Once you have made any changes in the properties, you must save and publish the page for the changes to go live.


